


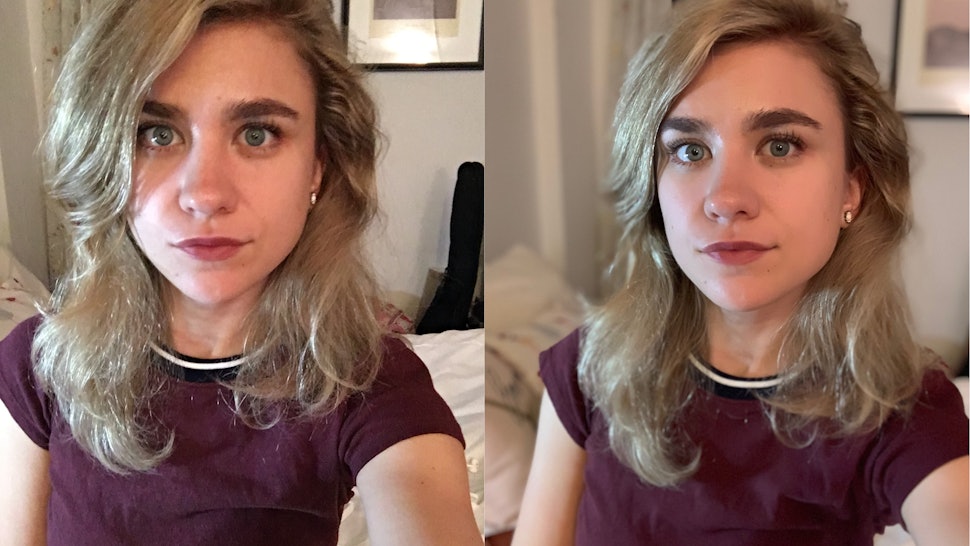
Did you know that the same technology that erases pimples in your selfies can help you treat acne?
No one loves acne, especially in this age of selfies and hyper-visibility. Technology can help us hide our breakouts and bad skin days. Who hasn’t used a filter like AirBrush, Pixl or FaceTune to zap a chin zit?
But computer vision technology is capable of so much more than just hiding acne in photos!
Artificial intelligence for real live faces
The AI technology that removes unwanted blemishes from your selfies is called computer vision. Dermatologists and brands like Curology are now using this same technology to make online consultations possible.
But in order for selfies to be effective in acne diagnosis and treatment, it’s super important that they are very high quality and really show what’s going on with your skin over time.
Selfie quality tips!
The American Academy of Dermatology suggests 6 guidelines to follow when using selfies for acne tele-consults:
- Make sure photos are well lit, ideally taken in natural light. Avoid shadows and glares since they cannot be interpreted.
- Take multiple shots (one of each side) and make sure the entire area to be treated is visible.
- Snap photos of different areas that show what the skin is normally like and what it’s like when broken out.
- Just like when you go to the dermatologist, don’t wear makeup!
- Delete and redo blurry photos.
- Avoid doing things that might change the appearance of your skin before you take photos, like taking a hot shower, rubbing your skin or using acne products.
In a perfect world, it would be easy to snap high-quality selfies round the clock, but lighting is often far from ideal, and phone cameras are far from perfect.
So what happens to acne assessment when photos are not high quality?
Garbage in, garbage out
GIGO –garbage in, garbage out– is a computer science term that means that the quality of output depends on the quality of input.
And there’s a lot of garbage that can diminish photo quality.
Glare in a photo erases details that are important to acne assessment, making it difficult to determine, for example, if your zit is really redder today or if it just looks redder because of the lighting.
Different phone models also affect the ability to assess skin conditions. Each camera has its own sensors and filters that read pixels, so your skin may look lighter or darker than it is, which makes it difficult to assess irritation for instance.
And computer vision needs even more help when reading multiple photos taken over time to assess changes!
AI – the trick to assessing changes over time
The cherry on the cake when using computer vision for acne assessment is something called a color checker chart, or a Macbeth (which was the name of the original color checker).
A color checker is just a rectangular grid with different squares of colors. When you hold it next to your face and take a photo, AI color rendition technology can standardize it to other photos to make them much more similar. That way it’s easy to see what’s going on with your skin over time.
It’s all a bit techy, and you don’t need to know exactly how it works – you just need to know that using a color checker is vital to acne treatment through photos.
We created our own color checker, called Skincoach QR, and we put it right on the cleanser tube!

Our AI color rendition technology automatically color-corrects all the photos you take with our color checker, so we can accurately assess the progress of your skin over time and modify your routine or products.
Here’s how to use the color checker to take an assessment-quality selfie with the Skincoach app:
1. Look right at the camera – Kardashian style. For the first photo, we just want to see your face, front and center. You don’t even have to snap the shot. Skincoach picks up on your presence and automatically takes a photo (but you can delete and start again, don’t worry!)
2. Hold up the color chart. Take your cleanser tube and hold the color chart just below your chin. But – this is important – make sure to extend your head up and away from your neck a bit so the color chart is completely visible and not covered at all.
3. Get the light as perfect as possible. Yes, the AI technology will correct your photos, but it’s still important to get the best light you can. Avoid shining light right on your face when snapping a shot. Look for even light.
4. Go natural. No makeup. No glasses. It’s also ideal to take your acne assessment photos right after you cleanse your skin. It will help us see the real you, so we can analyze your skin and assess progress.
5. Front, right, left. The camera will take 3 profile pictures automatically. All you need to do is hold the cleanser tube below your face, neck extended a bit, and turn your head to the left and then the right as the app prompts indicate.
Want to see for yourself how technology is changing the face of acne treatment?
Download Skincoach. (It’s kind of like having your own virtual dermatologist in an app – products, personalized routine, follow-ups and all!)